Important Note Before Starting:
• Make sure your organization has a Domain
• Make sure that you have access to your Domain’s Control Panel
This is a process that generally will take place over the course of two days. Setting up an Organization requires Google to verify your ownership of the domain, a process that you will want to leave several hours for, or have going overnight.
Creating the Organization
- Make sure you are signed onto the Google Cloud console. Click on “Identity & Organization” in the left menu bar. You will receive a pop-up giving you an overview of the identity setup process, review, then press “Sign Up”.

2. The next screen tells you a little about the cloud identity service, click “Next”.

3. The next screen asks for your business name and size, fill those in and press the “Next” button.

4. You will be asked where your business is located, pick a location from the dropdown and press “Next”.

5. Enter Your email address and press “Next”.

6. You will be asked for your business’s domain name, enter it and press “Next”.

7. You will be asked to confirm the domain you are using to set up with Google cloud. Hit “Next”.

8. You’ll be asked for your first and last name, enter them and press “Next”.

9. Provide the email address and password you will be using to manage identities and press “Next”.

10. On the next screen, select “I’m not a robot.”

11. A verification screen will popup. Select the correct images that match the word or phrase in the top of the pop-up and click “Verify”.
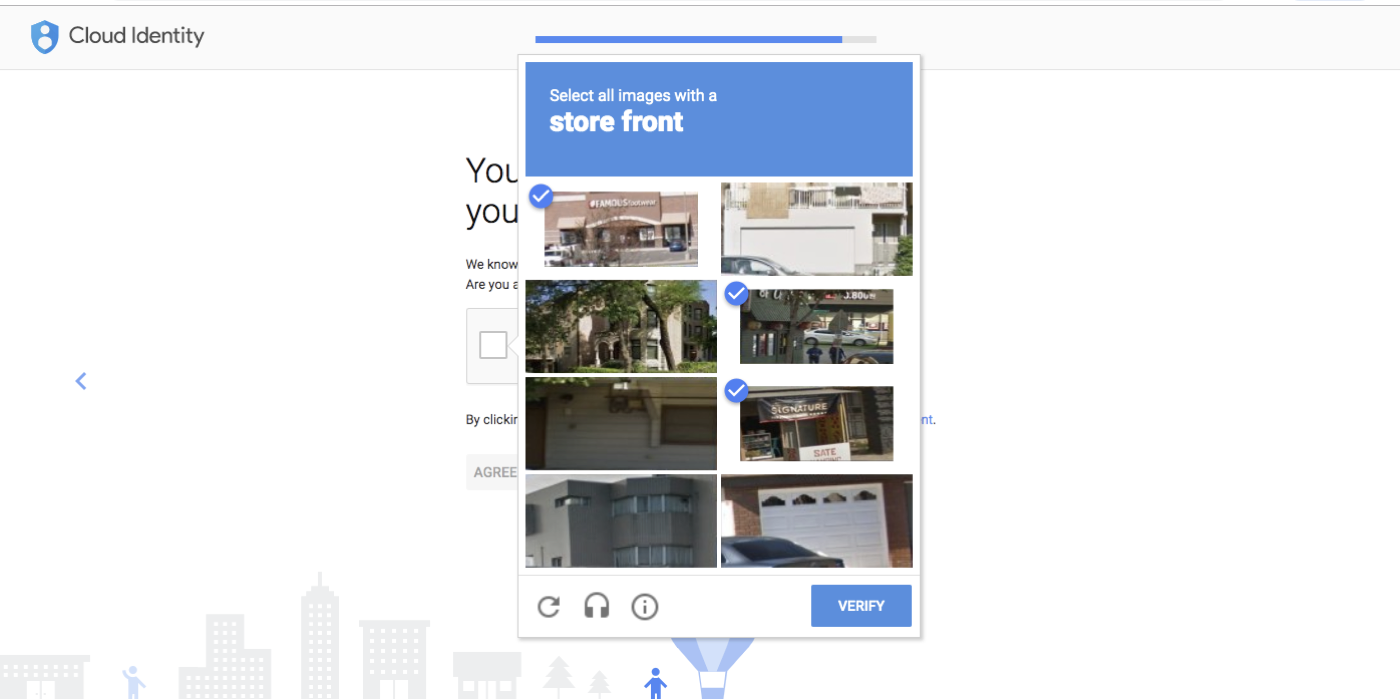
12. When the pop-up closes press on the “Agree and Create Account” button.

13. You should see the screen below when your account has been successfully created. Press “Go To Setup”.

Verifying Domain Ownership
1. The next step is to verify your domain ownership. You’ll want to be logged into the control panel of your domain in another tab or window. Press “Start”.

2. We are already logged into our domain’s host website, so we are going click Yes in the first checkbox.

3. You will be asked to open the control panel on the website where you manage your domain. We have already done so, click on the checkbox “I have opened the Control Panel for my Domain”.

4. On the next screen you will see two pieces of information we will need to add our domain. The name (also known as the host or alias) and the value (also known as the answer or destination).

5. Go to your domain panel and find the area where you add new DNS records. The interface for doing so will vary depending on the website where you manage your domain. Make sure the type of record you are adding is TXT and enter the two values provided by Google, the host record and the TXT Value. In this case we are going to press the “add record” for this service provider’s control panel.

6. You should receive a confirmation.

7. Return to the cloud setup pop-up, and click on “I added the TXT Verification record.” We also saved the record, so click on the “I saved the TXT verification record” checkbox as well.
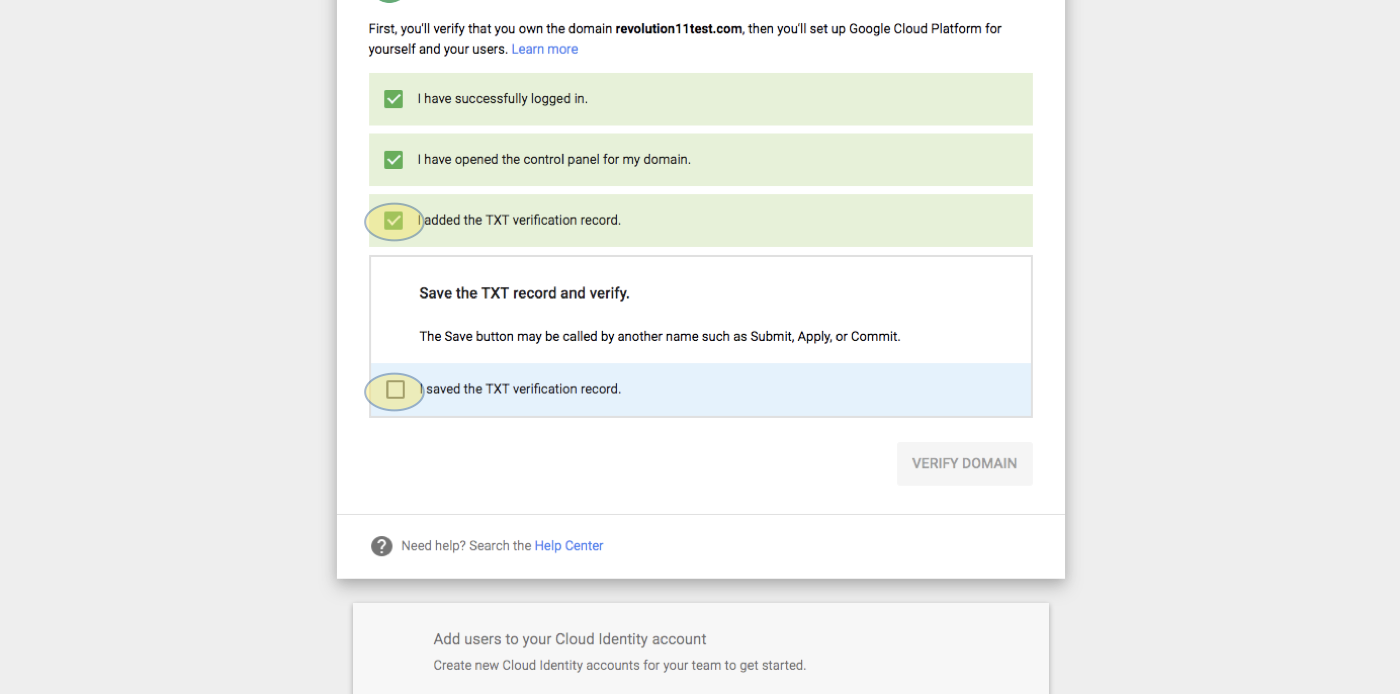
8. Press the “Verify Domain” button.

9. You should see a screen like this while your domain is verifying:

10. And more likely than not, you will see a message like this after about an hour. It usually takes more than an hour for the change you made at the website where your domain is managed to propagate across the internet. Come back in a few hours or the next day and hit the retry button.

11. You will see the same set of checkboxes that you saw before. We have already completed this so click on “Verify Domain.”

12. You should see a screen like this once you have verified the domain. OK, let’s now set up our developer. Press the “Create Users.”

Creating a Developer Account
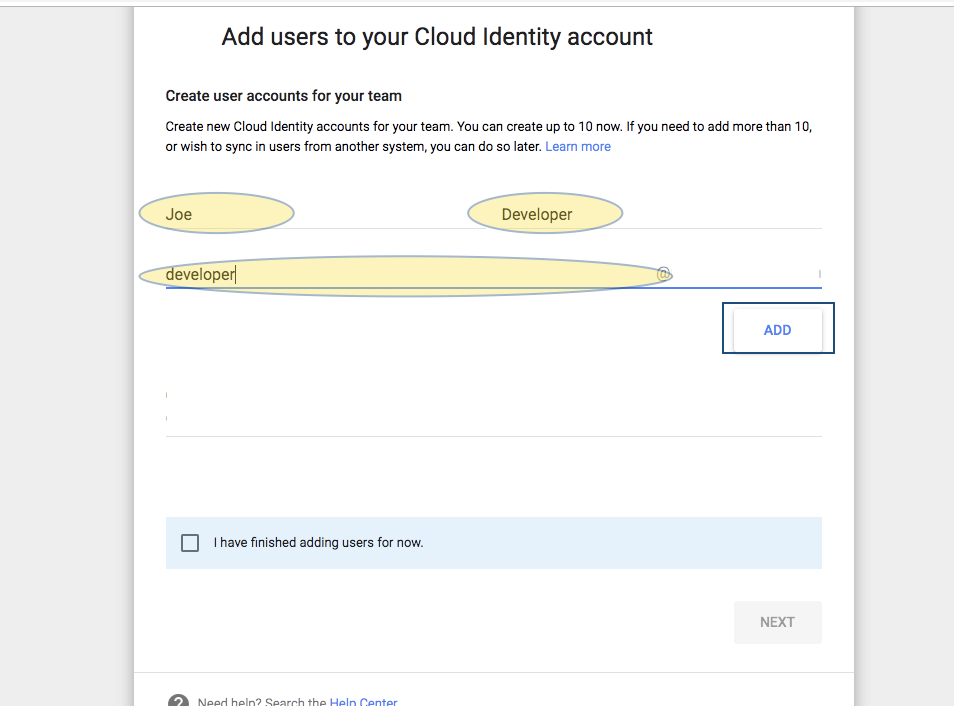
1. On the create user pop-up, give the user a first name, last name and a user name. Press “Add”.
2. On the next screen enter the email address for notifying the developer of the account.
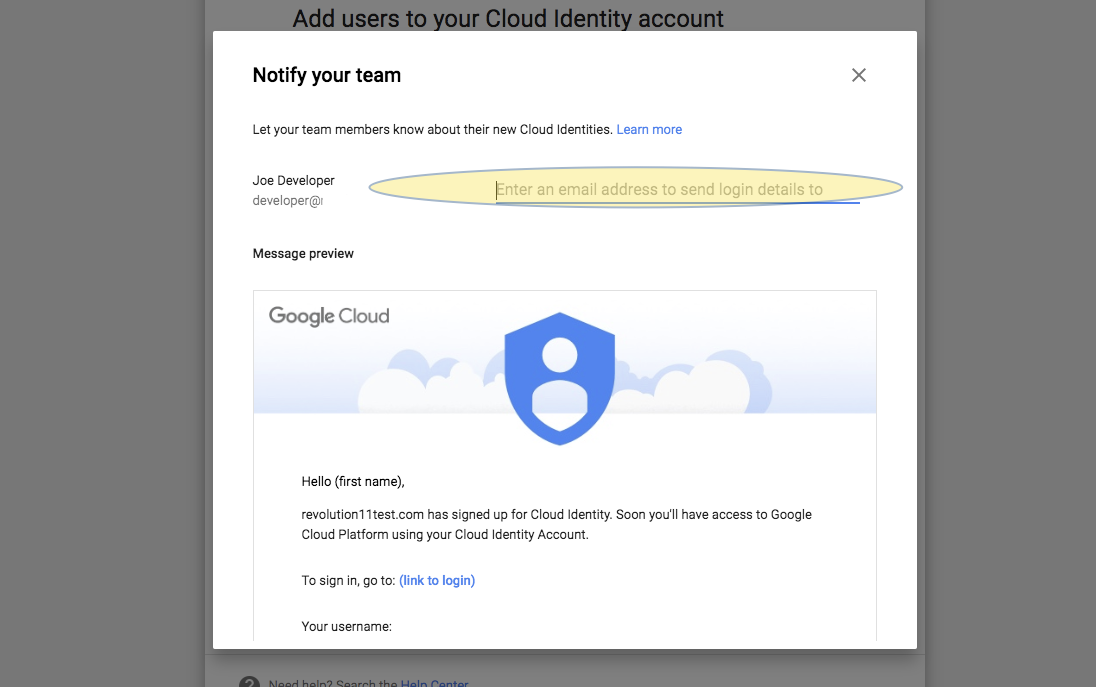
3. Scroll down, type in a message for the developer and press “Send Emails.”

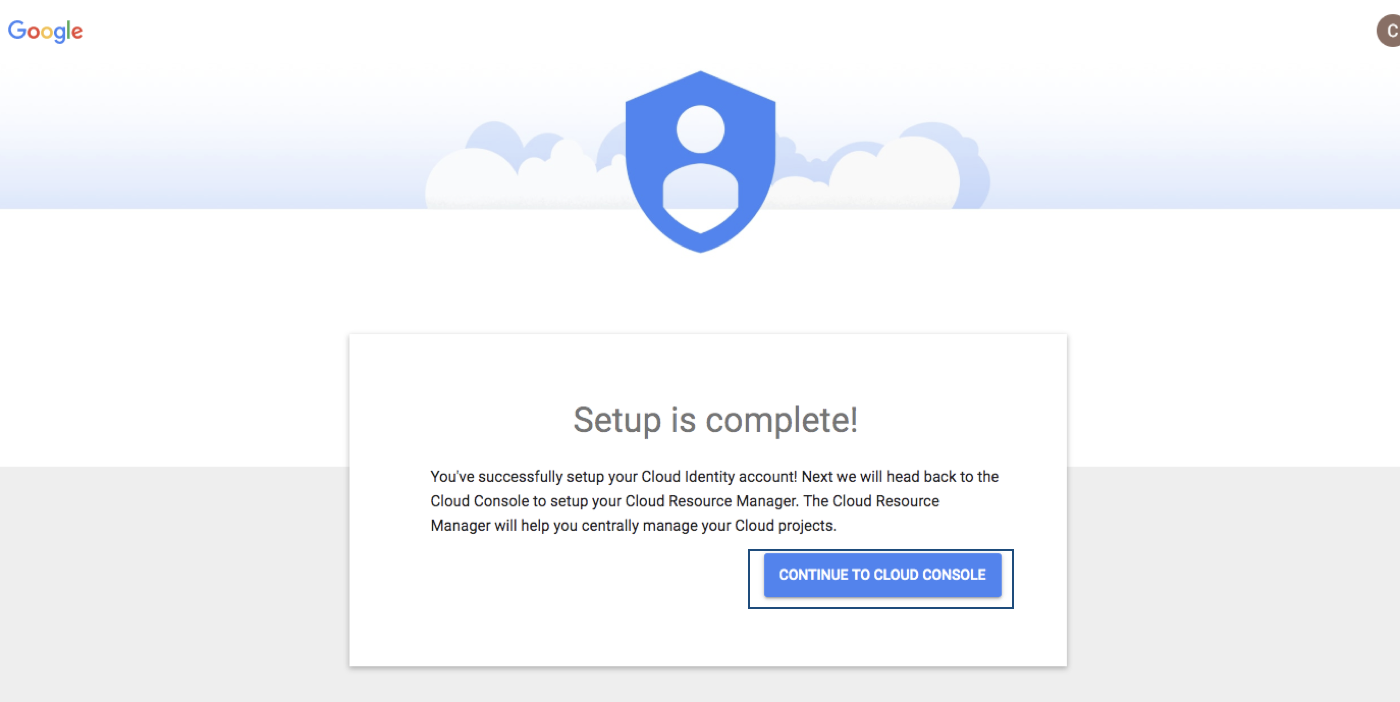
4. That’s it for adding an account. Now let’s create a project for our developer to use. Press “Continue to Cloud Console.”
Adding a Project
1. Agree to the terms of service by checking the box, then press “Agree and Continue.”

2. You’ll land back on the IAM & Admin homescreen. There are a few more things we should set up, like billing accounts and other roles, but we’ll tackle that later on. Let’s create our project. Click on “Google Cloud Platform” in the upper left — this is how you navigate to the homescreen of Google Cloud.

3. You’ll see that the homepage is not viewable for organizations; you will need to select or create a project in order to view the console homepage. In our case, we don’t have any projects, so we will press the Create button.

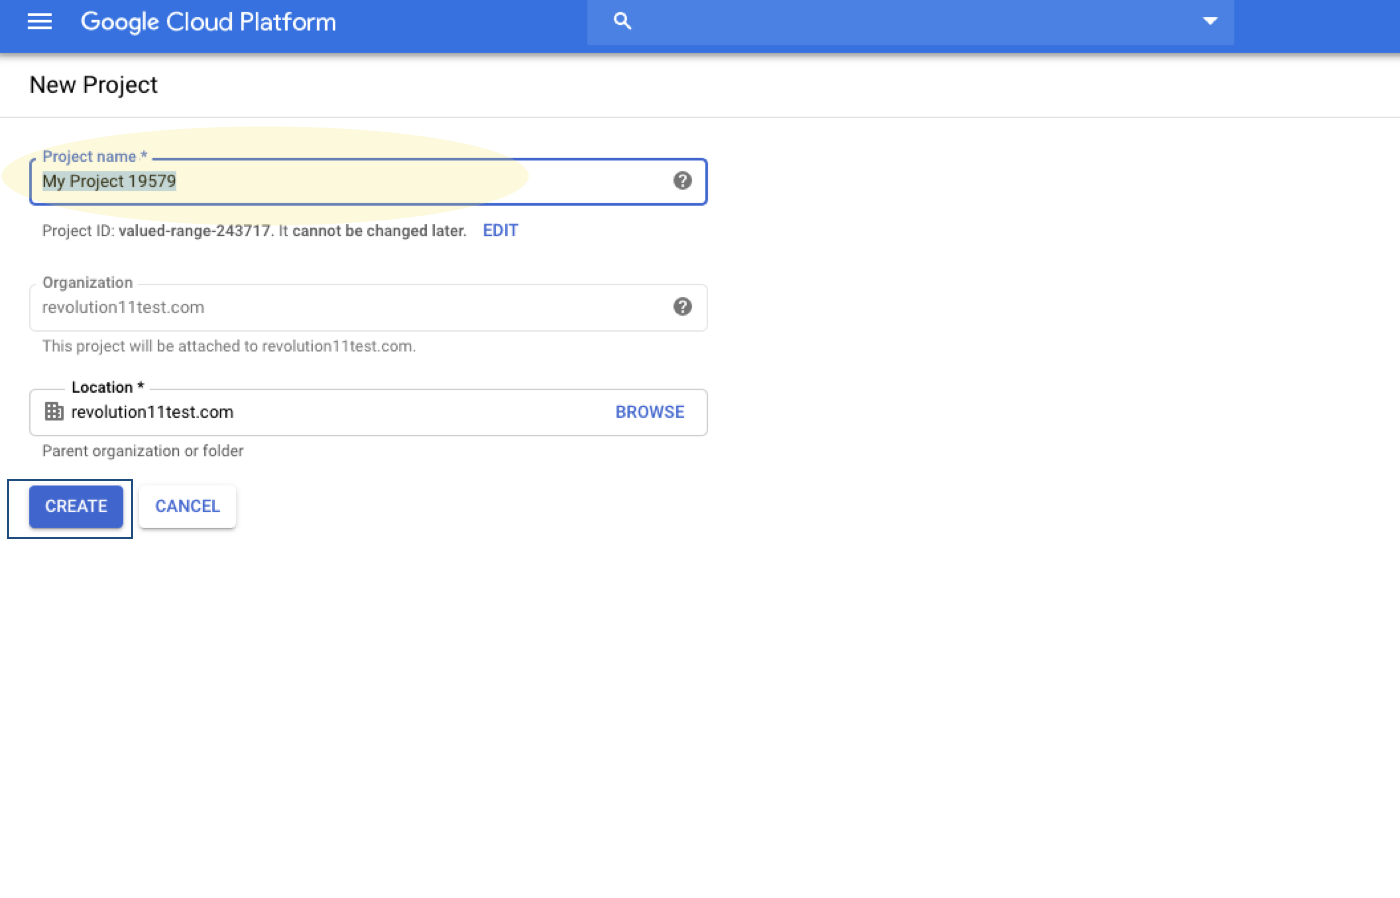
4. Give the project a name, and press “Create.”
5. Once your project is created, you will land on the project home page. Let’s now give our developer access to this project.
Project Access
- If the navigation bar to the left is not exposed click on the icon in the upper left hand corner to expose it and choose IAM & Admin.

2. On the top of the IAM screen, click “Add.”

3. We will be using the Proximity API for our project, so we will give our developer BeaconEditor rights.

4. Type in the developer account we will use and click on the roles dropdown, find the Proximity Beacon Set of roles and choose it. Pick “Beacon Editor”.

5. Press “Save.”

6. You should see that the developer was added to the project.

Checking Developer Access
- Now, let’s make sure the developer can log onto the project. They should have reeived an email that looks like the one below. Have the developer click on the “Sign In” link in the email.

2. When the developer signs in, they will be asked for the temporary password that was provided in the email. Enter it and press “Next.”

3. The developer will be asked to accept the terms of service for the account. Press “Accept.”

4. The developer will be asked to create a new password, and then confirm it. Then press “Change Password.”

5. The developer will be asked to agree to the terms of service for Google Cloud Platform and it’s APIs. Click on the corresponding checkbox, and press “Agree and Continue.”

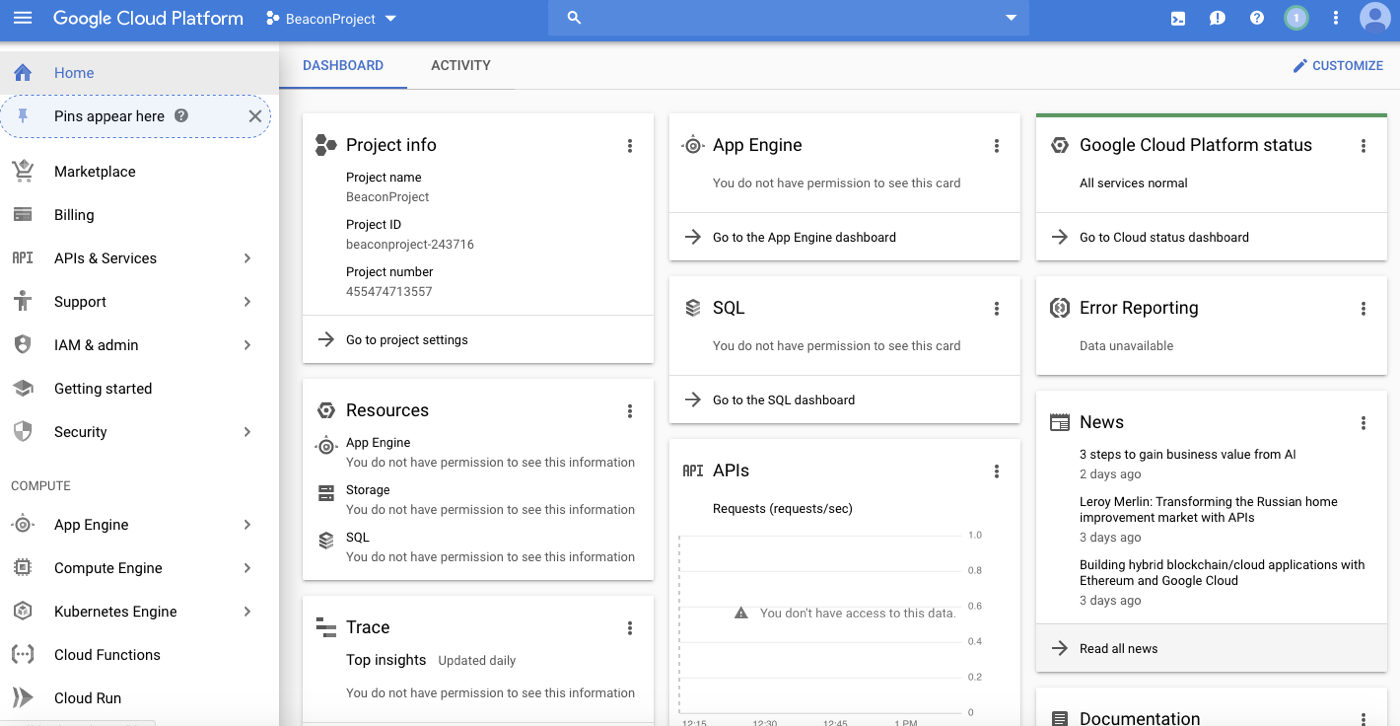
6. From the developer’s home screen the project can be selected at the top of the screen. This will bring up a pop-up of project, have the developer click on the BeaconProject.
7. This will bring the developer to the project homepage. We’ll explore setting up the proximity API and working with it in the next blog in this series.